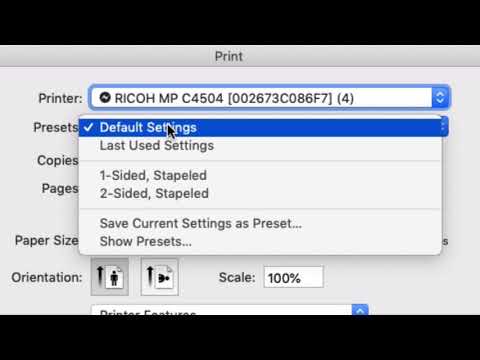
True" - When I'm stuck, today I'm going to show you how to set your presets for your printer. This will save you time when you need to print similar jobs in the future. Now, all you have to do is go to print and hit command P to bring up the Chrome print dialog. This allows for quick and easy prints, with options for pages, copies, layout, and more. Keep in mind that to set your presets, you will need to do this on the Mac side and not within Chrome. To do that, you need to hit "print using system dialogue". In the future, you can hold down option command P to skip this print setting and go directly to the system dialog. This will bring up the typical Mac print dialog menu, where you can select your printer, choose the number of copies, and select specific pages. If you don't see all the information and additional features like pages per sheet, color matching, etc., it may be because these details are hidden. Simply select "show details" to reveal this information. Once you have access to the print settings, you can make changes based on your preferences. For example, you can adjust the layout by selecting pages per sheet, adding or removing borders, and choosing between printing one-sided or two-sided (long edge or short edge binding). There are additional features specific to certain printers, such as stapling or hole punching. In the printer features section, you can explore these options and customize your print job accordingly. Before hitting the print button, you have the option to save your current settings as a preset. Simply go to "presets" and choose "save current settings as a preset". Name the preset according to your preferences, such as "two-sided stapled" or "portrait two-sided stapled...
Award-winning PDF software


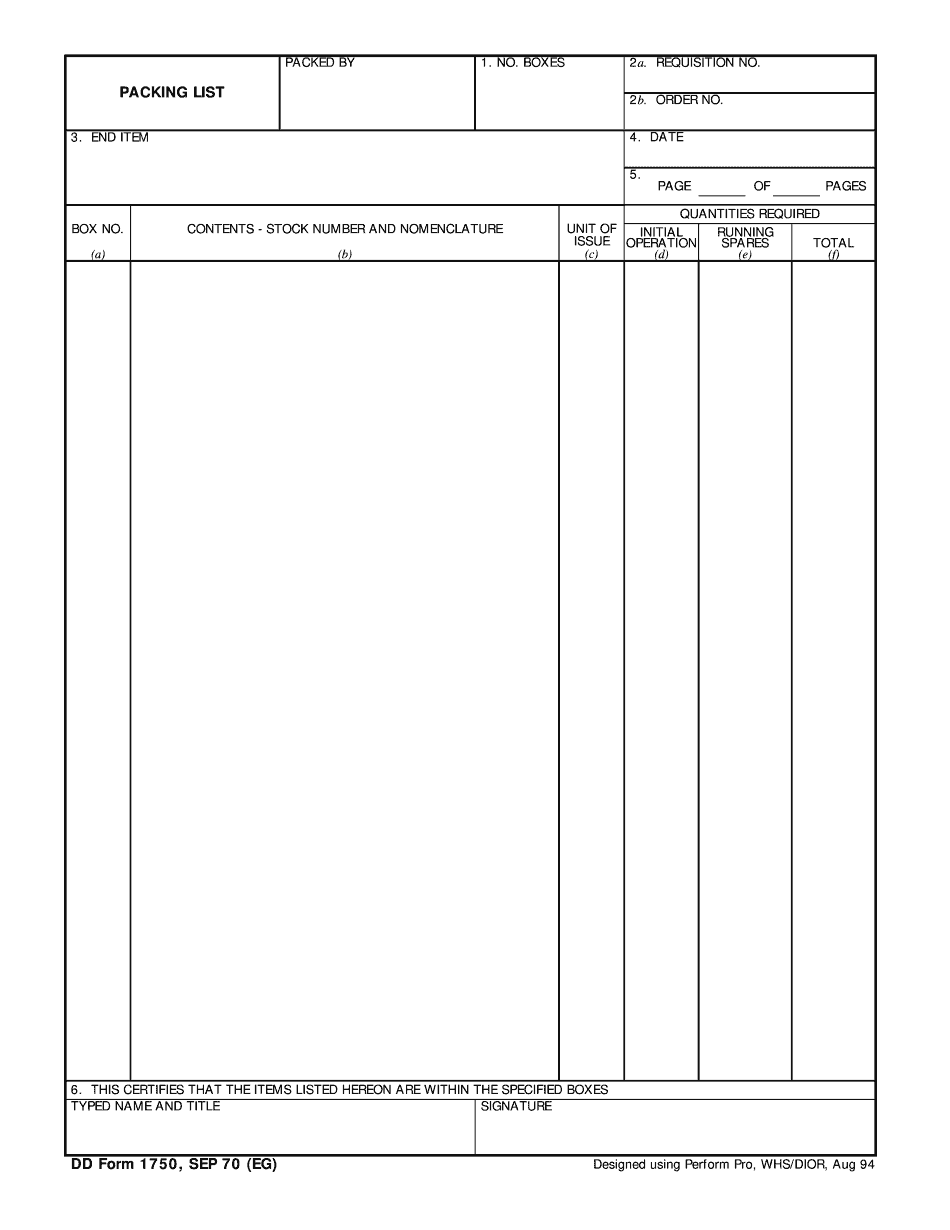
Video instructions and help with filling out and completing Dd 1750