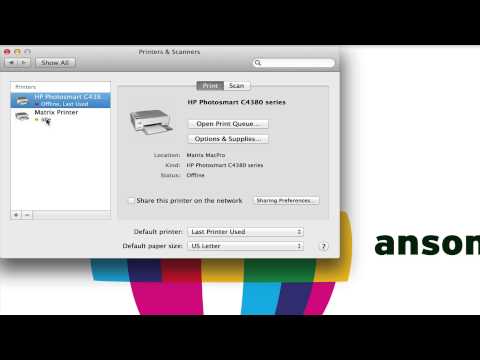
True! Hi everyone, this is Anson from Anson Alex.com. In this video, I'm going to show you how you can change and/or set the default printer on your Mac OS 10 computer. You have a few different options to do this. Firstly, we need to access our printer settings in Mac OS 10. To do that, we're going to go to the top left of our screen and click on the Apple menu. From there, we'll click on the 'System Preferences' option. Once the 'System Preferences' window pops up, we're going to navigate to the 'Printers and Scanners' section. Now, you may or may not have the printer you're looking for already in your list. If it's already in your list, great! We'll talk about how to set it as your default printer in a second. If it's not in your list, you may have to click on the plus icon and select 'Add Printer or Scanner'. When you do that, it will search for any printers that are currently connected to your computer. If there aren't any printers connected to your computer, it will look for printers connected to the same network you're on. So, if you have a wireless printer, make sure it is connected to your Wi-Fi network. There should be instructions on how to do that that came with the printer. Also, ensure that your computer is connected to the same wireless network. Once the printer you want appears in the list, simply click on it and click 'Add' at the bottom. Now, I already have two printers in here, so let's talk about how to set the default printer. The setting for this is at the bottom of the printer settings window. It is labeled as 'Default Printer'. You have a few different options for the default...
Award-winning PDF software


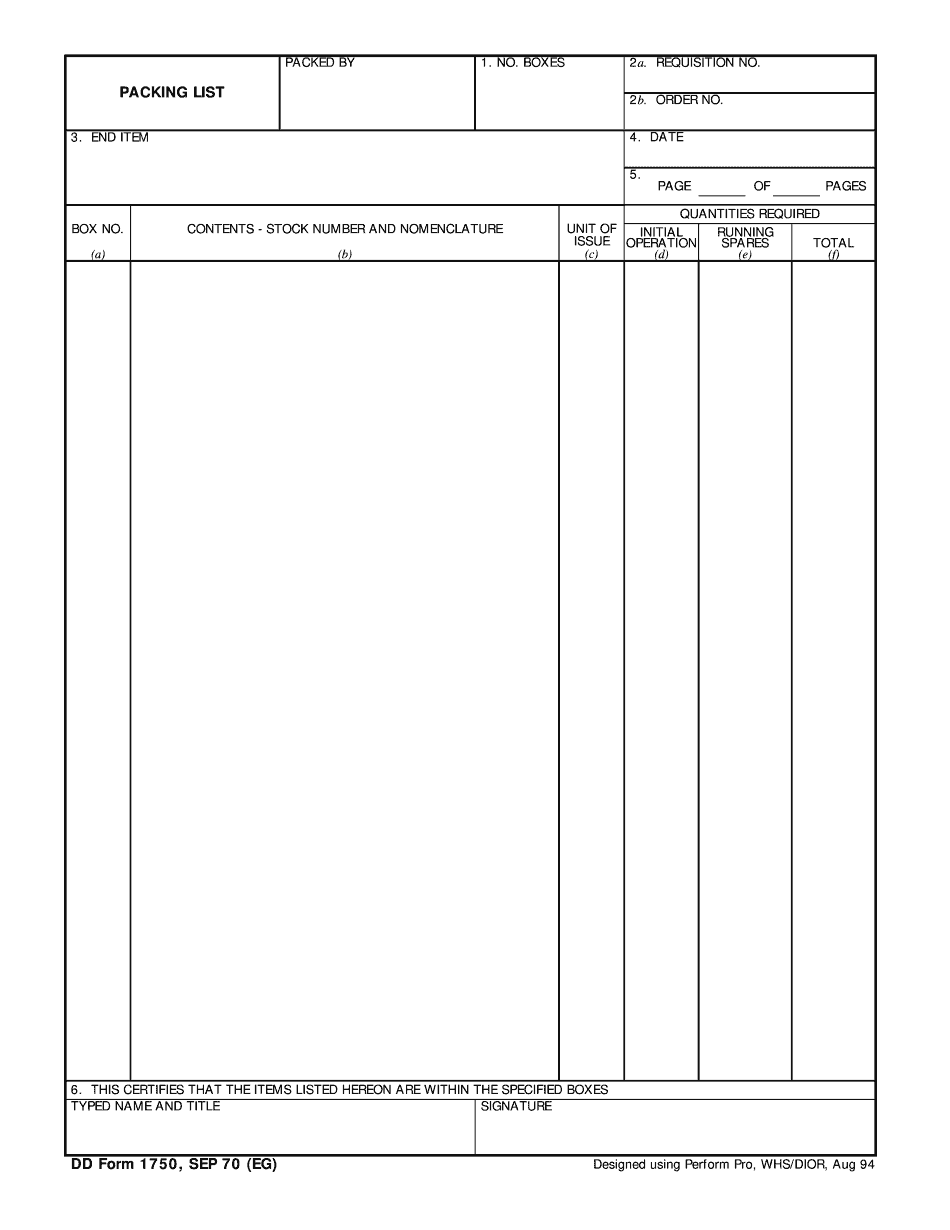
Video instructions and help with filling out and completing Dd 1750