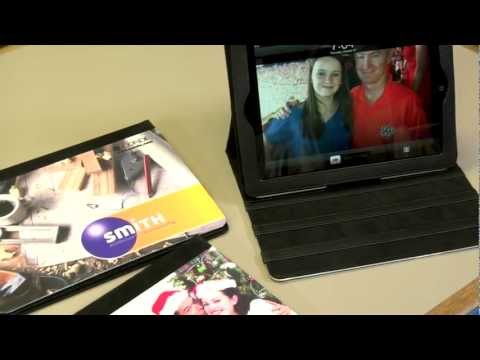
True" hi, I'm Brittany with County Systems. Today, I'm going to be introducing our latest product, which is our iPad 2 cover. You can see we have it on display here. It's really nice because it props up and you have three different degrees of height. It's a really nice product, but keep in mind, it's designed only for the iPad 2. The way you can tell is by checking the speaker holes and the camera holes. You'll be able to slide the iPad directly in and it will give it a nice secure fit. So, today, I'll demonstrate how to press our iPad 2 cover. I have a blank cover that I'll use for the demonstration. Please note that I've already pre-cut it, but you don't have to do it unless it's your preference. As long as you line up your substrate and your image properly, you'll be fine. To start, I have a piece of green rubber pad, which I'll show you what I'm going to do with in a minute. Additionally, you'll need some protective paper, scissors, pro-spray, and heat tape. If you don't have heat tape, you can use whichever method you're comfortable with. In this demonstration, I'll be using pro-spray, but both methods work. First, we're going to pre-press our iPad 2 cover. You'll notice that we have this black felt area, which we want to make sure to keep protected from the heat. So, I'm going to use my green rubber pad, which I've cut into a nice narrow strip, and place it directly over the black felt. It's important to make sure it doesn't come in contact with the heat. Alternatively, you could use felt or simply hang it off the edge, which is what most people do. Once the rubber pad is in place, grab a...
Award-winning PDF software


Video instructions and help with filling out and completing Dd 1750