True." Hi guys, this is Tech Howdy. I welcome you to this video tutorial series on creating your ASP.NET Core 2.1 CRUD application on a Mac. In my last video tutorial, I showed you how we can create a connection string and also how we added our service for Application DbContext to our Startup class. The next step that we are going to take is to enable and create migrations in our project. What will migrations help us to do? It will help us to create our database tables and columns. Right now, we only have a model class called Employees.cs. When a database is created, we will have a table called Employee, and the table columns will basically be the names of our properties. To enable migrations, the first thing you want to do is open your terminal. Once your terminal window is opened, go ahead and right-click on the project solution and click on the option "Reveal in Finder". As you can see, my project folder is being displayed in the Finder window. Now, all I'm going to do is in my terminal window, type "CD" to change the directory and drag and drop my project folder onto my terminal. Then hit enter. Now, I will be inside the Speaker directory. Now, I can run my dotnet entity framework or migration commands to enable migrations. So, once you are inside the project directory, you would need to run a few commands in order to enable migrations and update your database. But before we run those commands, go ahead and check if your server instance and Docker are up and running. If it's not, and you try to run these commands, you will get errors related to network or server errors. So, first let's go ahead and check if...
Award-winning PDF software


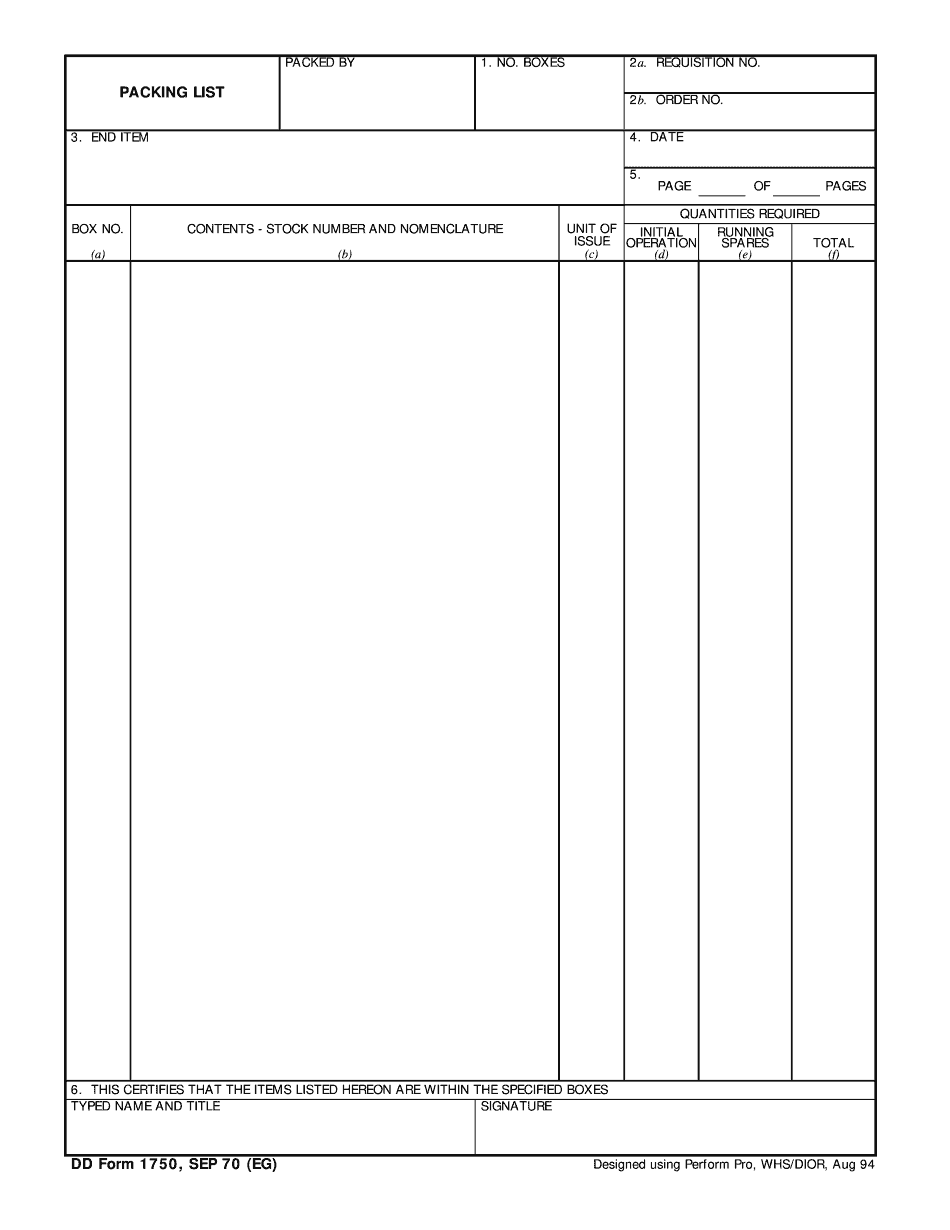
Video instructions and help with filling out and completing Dd 1750